
It wouldn’t be Easter without Easter Bunnies and Easter Eggs, the annual Easter Egg Hunt, and the Egg and Spoon Race!! And because Easter happens in Spring when the flowers are out and the somber period of Lent is over, moods are always joyous and celebratory!
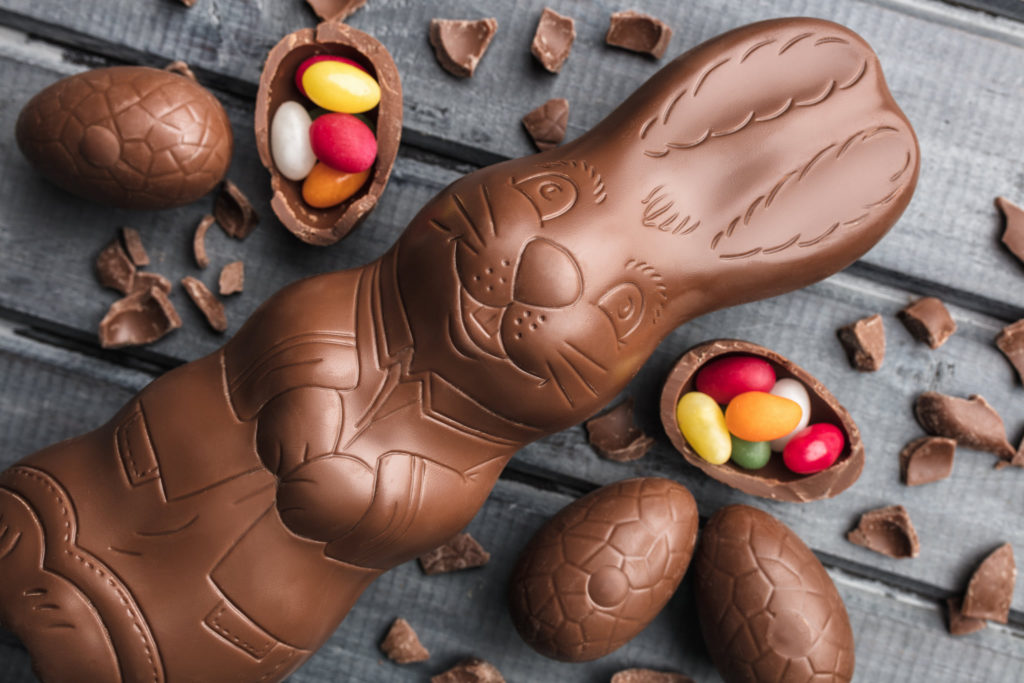
The Easter Bunny folklore originated among the Germans actually like an Easter Hare that, much like Santa Claus, evaluated if children had been bad or good at the start of Eastertide. The Easter Bunny carried colored eggs and candy in his basket and went from home to home distributing these goodies to the children. Today, marzipan and chocolate bunnies and eggs, and other candies like jujubes, jellybeans, candies almonds, gummy bears, marshmallow eggs, M&Ms, etc are very popular with kids at Easter.
Making your own Easter treats is fun right? Children will love to color and shape their own bunnies or paint their own eggs. So, let’s get right to it with these simple but delicious recipes for you to follow.
EASIEST MARZIPAN BUNNIES – EGGLESS
200g blanched and skinless almonds, sliced
150g powdered sugar
1 tsp almond extract
3 tsp water
1 tsp rose water
Put almonds into a food processor and grind to a very fine paste. Add powdered sugar and almond extract, and mix till well incorporated. Add water, 1 tsp at a time until the mixture comes together and forms a crumbly dough. Add rose water, and mix well.
Turn the marzipan out onto a surface, sprinkled with a bit of powdered sugar, and use your hands to shape it into a log. Add a bit of water by the teaspoon if the mixture is too dry. Wrap in cling film and store for at least 12 hours in a cool dark place till needed.
Marzipan is really easy to use. Think modeling clay. You can shape it with your hands or with modeling tools. You can color it with food coloring or dust it with food powders. Since the base color is ivory, the creative use of color can produce very realistic-looking works of art.
Colouring Marzipan
Before you start coloring, keep some undyed marzipan to use for white areas. Then divide the dough into the number and of colors you need, in the correct proportions.
If you are using liquid food coloring, put the marzipan into a small bowl and start by putting a drop and then mixing it in. For small quantities, use a toothpick to dot the color on the marzipan. You can always add more color if you want the marzipan darker. The same technique is used for color dust. To color marzipan dark brown, I use cocoa powder.
Once all the colors are ready and you are using moulds, divide into little balls, corresponding to the size of the moulds, and press in, removing the excess with a spatula. If you are shaping the marzipan by hand, first make balls and then roll them into whatever shape you need.
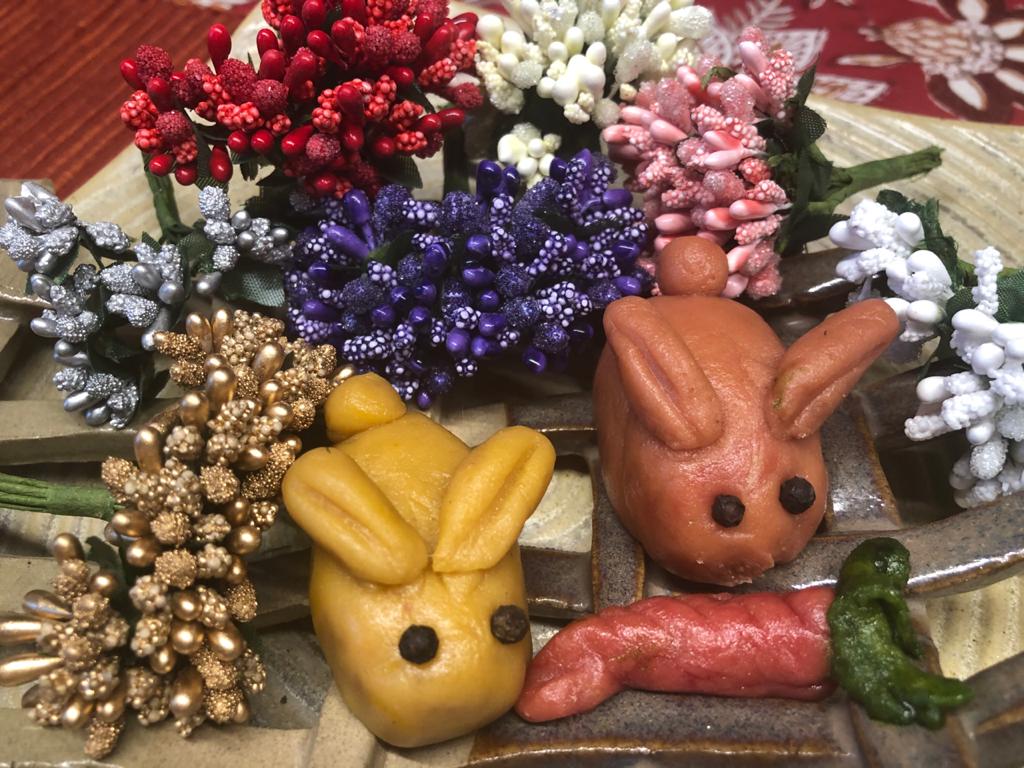
For my Easter Bunnies, I made different-sized balls for the body, ears, arms, head, tail.
Then I shaped them and stuck them together. If the marzipan refuses to stick together (for example- adding ears to bunnies), dip the ends in a little water. You can also apply melted chocolate with a paintbrush as ‘glue’ or for details such as eyes or spots.
The bunnies can then be used to decorate Easter cakes or cupcakes, or eaten as they are. You can shape marzipan into cute little Easter Eggs and place them around the bunny.
Marzipan can be stored in an airtight container and eaten within three weeks. Don’t be surprised if they don’t last that long!
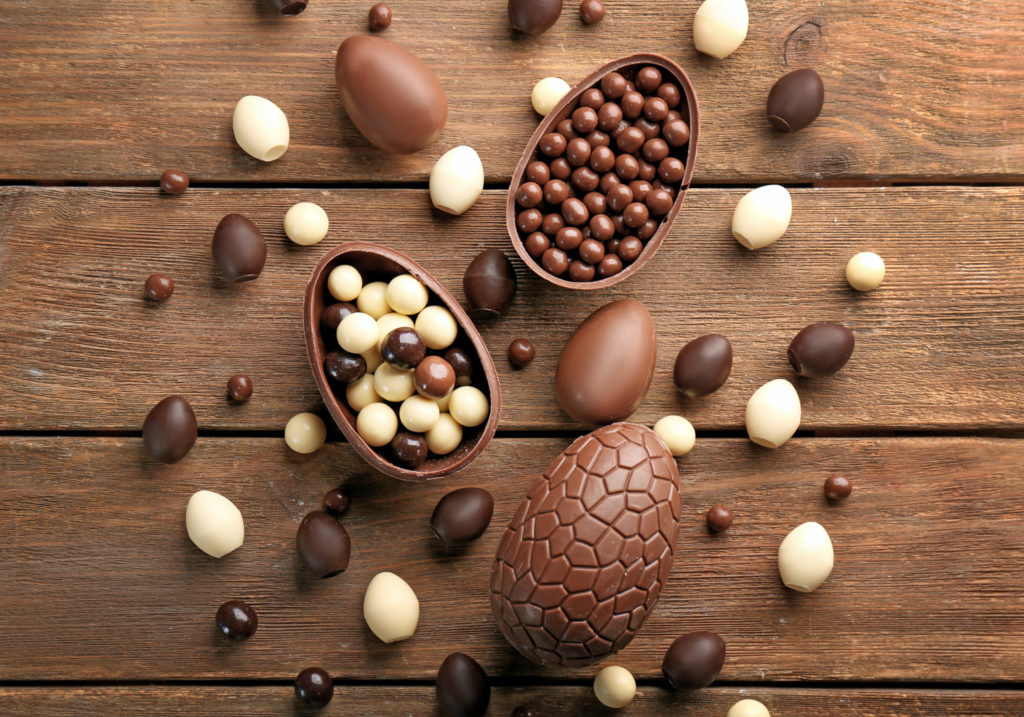
SUPER EASY CHOCOLATE EASTER EGGS
250g good quality dark or milk chocolate
Easter egg moulds (any size)
1 egg white, lightly beaten
150g icing sugar, sifted
food coloring
Melt the chocolate in a heatproof bowl over simmering water. Or melt it in a microwave-safe dish at 30-second intervals.
Paint a thin layer of chocolate inside the egg moulds, making sure it meets the edges of the mould. Chill for 5 minutes or until the chocolate is firm. Spread another even layer of chocolate over the first layer. Chill for another 5 minutes or until firm.
Gently ease the mould away from the chocolate. Join the chocolate halves together with a little melted chocolate. For an extra surprise, fill candies into the chocolate halves before joining them together!
Next, mix together the icing sugar and egg whites. Add any food color you want. Decorate the eggs using a piping bag, fine paintbrush, or toothpicks.
Note: If you do not have an egg mould, simply wrap an unshelled hardboiled egg tightly with cling film and dip the bottom half into the melted chocolate, and allow it to dry. Then repeat the process to get a thicker shell. Chill till firm and demould. Repeat for the other half of the egg and then join both halves.
Happy Easter Egg Folks!

For latest travel news and updates, food and drink journeys, restaurant features, and more, like us on Facebook or follow us on Instagram. Read more on Travel and Food Network
Trending Now : TFN Guides
San Francisco Travel and Food Guide
A Week Along The Mesmerizing Amalfi Coast | Travel Guide
48 Hours In Prague And 10 Tips To Make The Most Of It | Travel Guide
Also Checkout the below articles